

Building Dai-X!
Making the world's coolest robot– assisted by two cats.


While I’ve been reading up on the history of Look-in, the Star Fleet fan community has not been inactive. Longtime reader and supporter Suzy Jones decided to venture into the Thalian Zone and experiment with a little model building! Here is the story of her adventure in her own words. Enjoy! -Ben Wolf Page
On Thursday, 29th of January, a pal of mine messaged me to say a Goodsmile Moderoid Dai-X was on eBay and it would be worth a bid. “Great shout! It’s worth a go!” I replied. So, put on a bid I did.
On the 4th of February, I sat watching my phone, hand shaking, palm sweating… Was my bid still enough to win? I watched the seconds count down then…boom…YOU HAVE WON. Oh YES!!!!!
Having watched lots of Dai-X Moderoid sets go on eBay, the prices varying from £85 up to over £200, I was pretty made up to have spent the princely sum of £50 plus postage. I did think to myself “Is this too good to be true?” Well, I’d have to wait and see.
Wait I did, then on Monday 9th February, my parcel turned up, right on cue, and I rushed home at lunch break, all excited like a kid at Christmas. While I was out, the postie placed the parcel in my recycling bin but it was still absolutely pristine. I opened the parcel, then there it was, the most beautifully presented model box, with not a single mark on it. Everything inside was sealed, the instruction booklet was sealed, and I was as happy as Space Pilot John Lee in a cake shop.


Lovingly, I packed everything back up in the box and placed it on my bookcase, so I could admire it at my leisure. Having the bottle to put it all together? That was for another day.
Another day ended up being… another month!! Sunday, 1st March, I found myself home alone for the day, so I thought to myself… “Right!! Now’s the time!! How hard can this be?” Building a model, which I have never done before, with instructions in Japanese? Well, please bear with me, as you are going to find out!!!
The instruction booklet is beautifully presented, as is the box. (I will eventually get the box in a picture frame; it is too gorgeous to throw away). For a complete novice like me, I could work out from these instructions, what to cut from what frame (A, B, C and so on) and when. I controlled my excitement of cutting everything all at once, as that would have been a disastrous move.
I set all my frames in alphabetical order (OCD!!), made myself a cuppa, then set to work with a pair of nail scissors, tweezers and a tray (total novice as previously mentioned).
Right!! Step 01 – Braincom.


First thing to remember, be careful cutting from the frame. I made sure I cut the furthest from the required part as possible. Consequently, trimming off excess nibs of plastic during the construction is essential, as I was to find out during my early stages of building Braincom. Stage 01 went well. Then, we came to Stage 02. Oh. My. Days.


Some of these parts are TINY!! I mean, REALLY TINY!! I didn’t expect to be rolling round my floor, after they popped off the frame at the speed of light, trying to find the little blighters. Also, because you have to be really careful cutting them off the frame if you don’t trim them after, they don’t fit into the slots where they are supposed to go. Ping, off they flew again, (fiddlesticks and fruitcakes) just as I thought I’d got them in place. I suppose it doesn’t help having nails, but there you go. Eventually, after trimming bits off, I got Braincom assembled. It took me an hour!!! Then…disaster struck!!
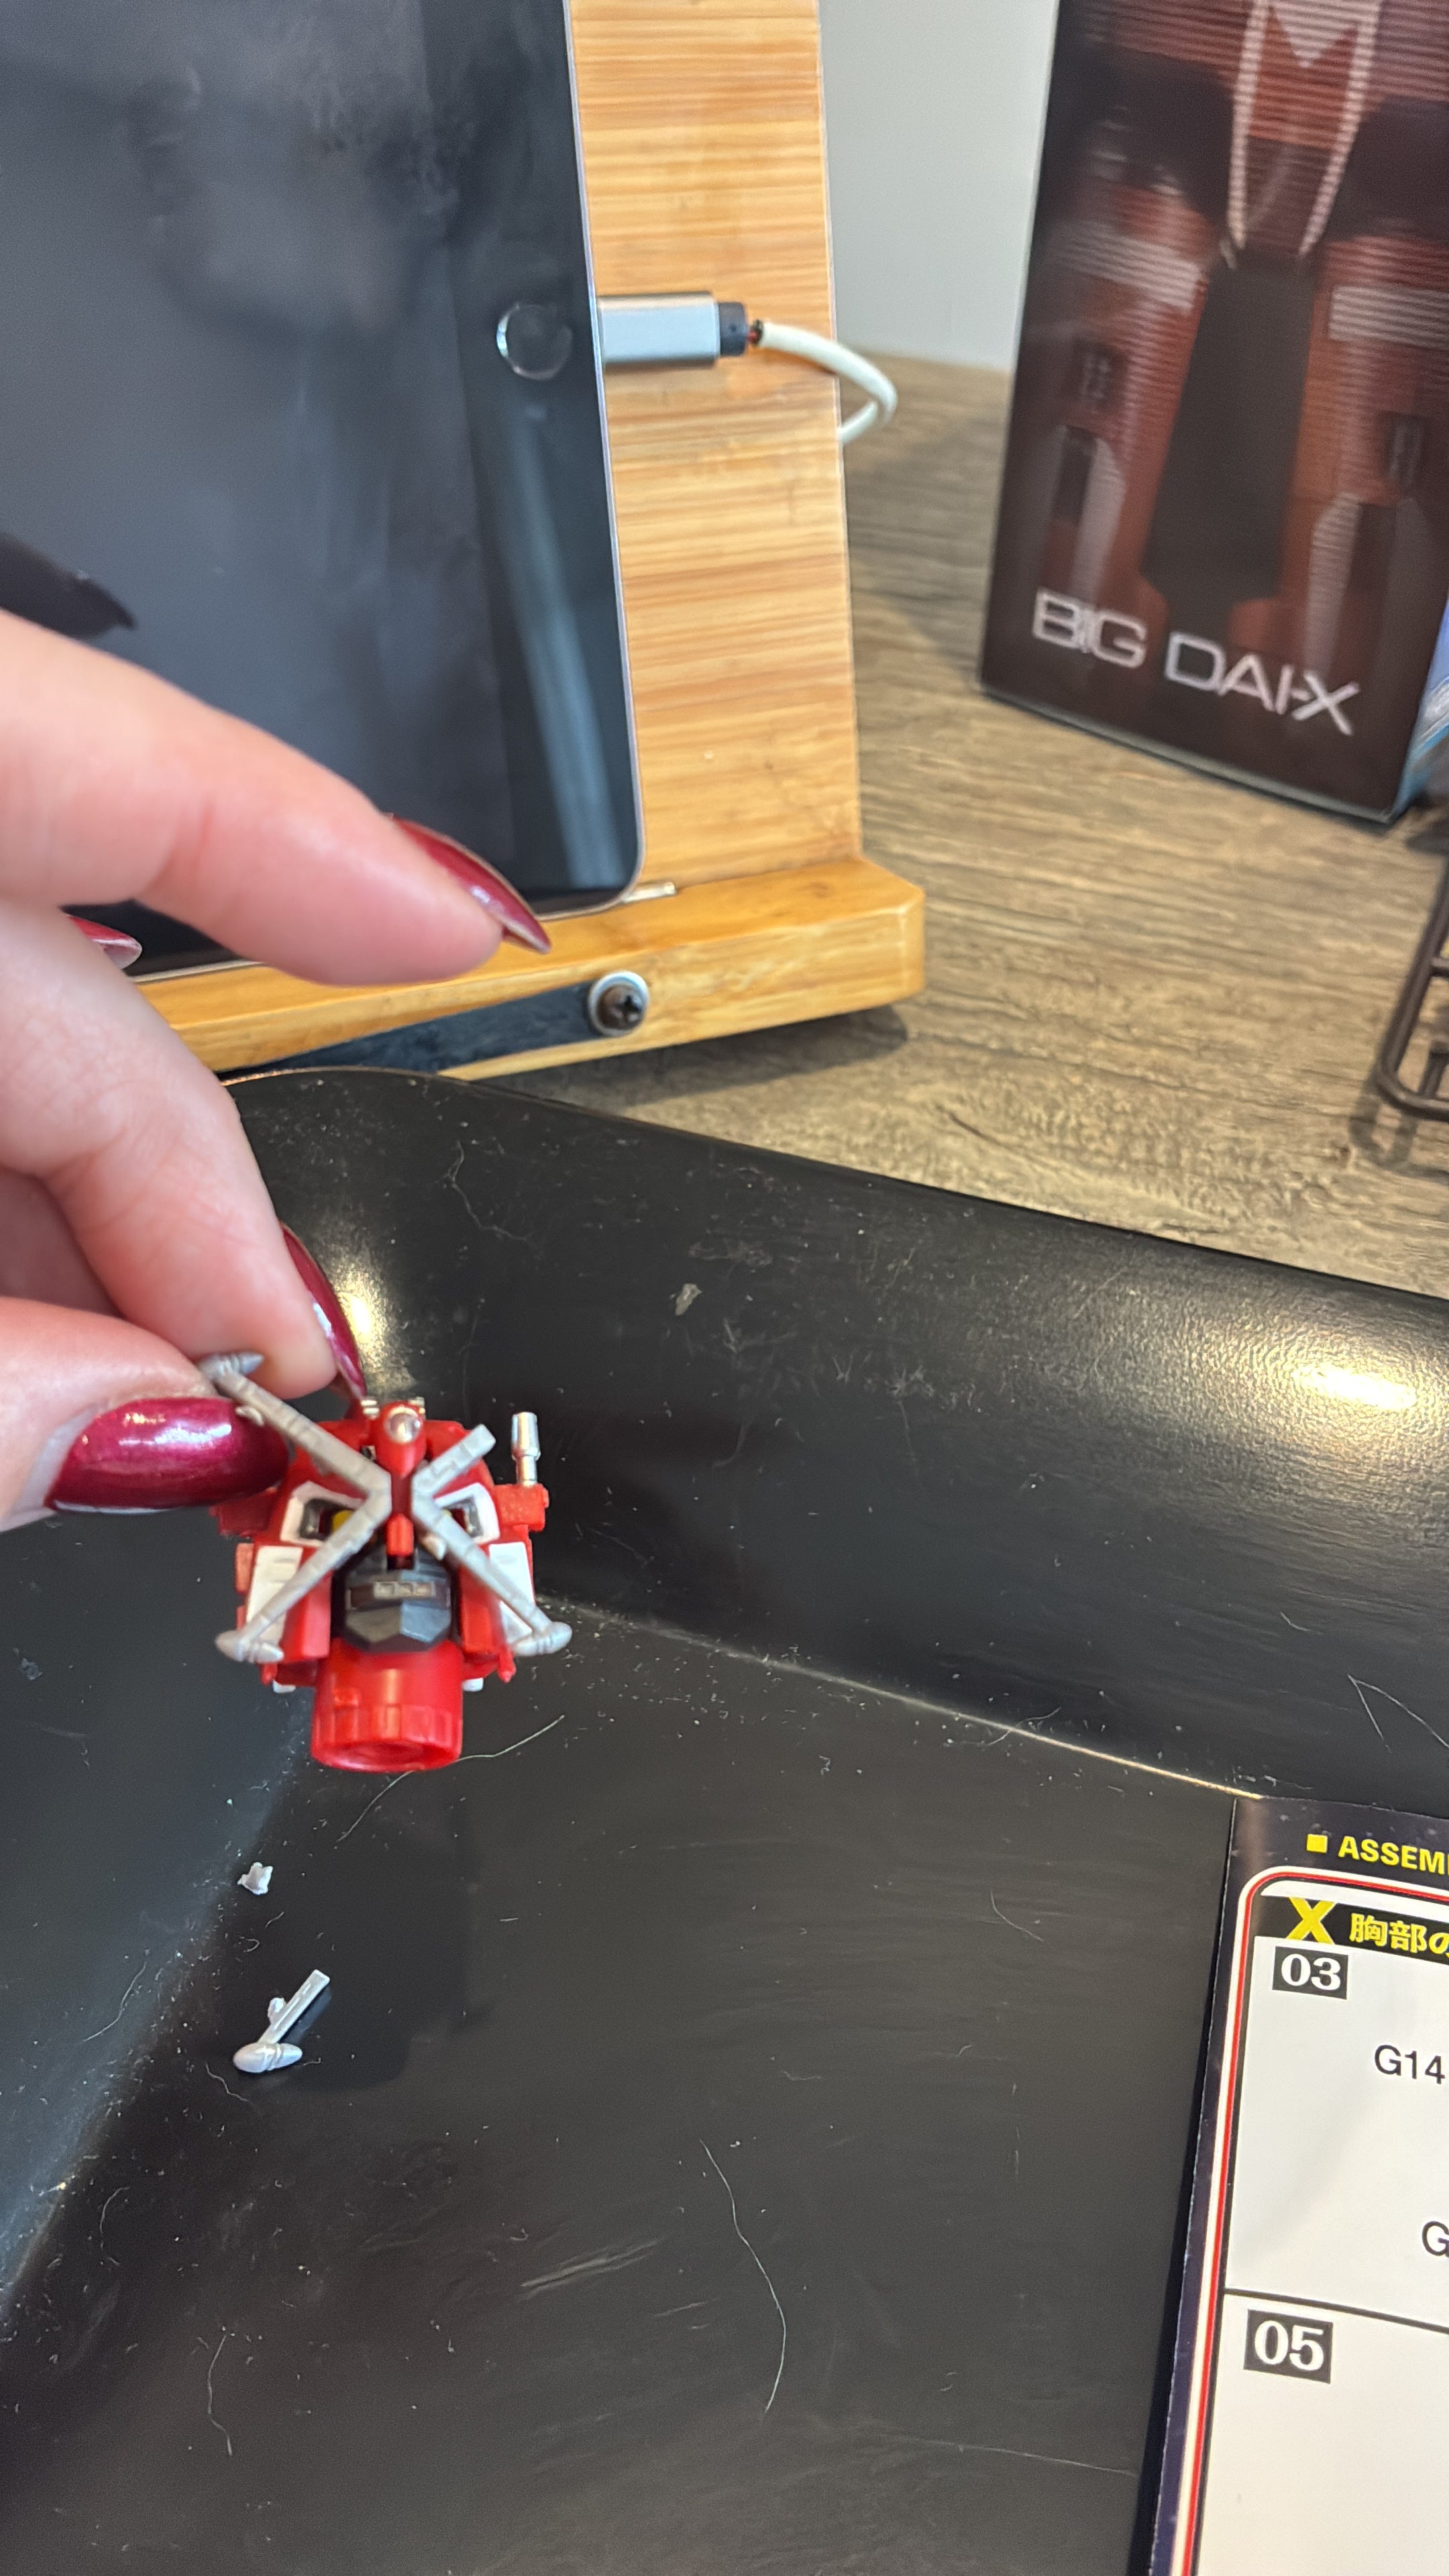
Because it is assembled in “Flight Mode” you need to push it closed for the “Junction Mode”. Bits flew off (more cussing and scrambling round the floor) then… I snapped off a part of X-Tracer. Oh… flapjacks!!!
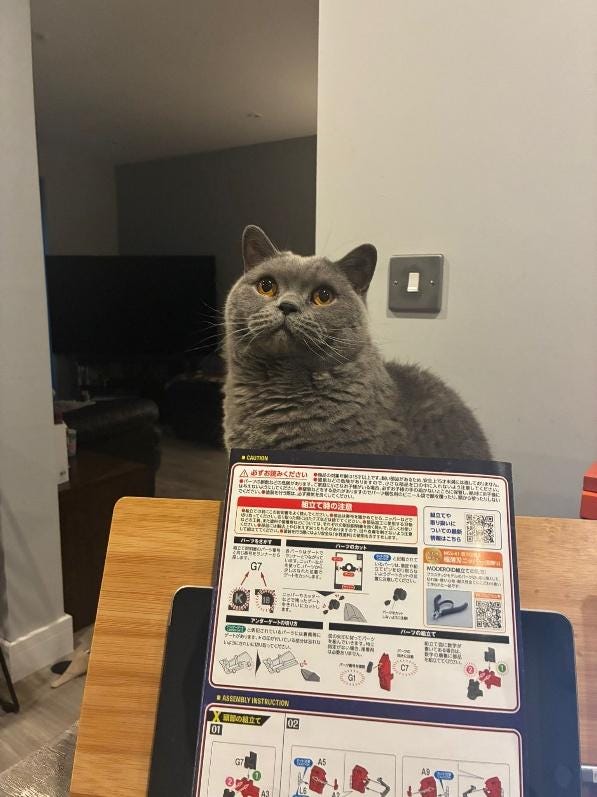
By the way, let me introduce you to Billy aka Bill. Bill is my build partner. This is Bill, watching bits flying around the kitchen and his mommy having a nervous breakdown.
The click shut hasn’t quite happened, the black piece at the back isn’t pushing down enough to slide the sides together, so I will come back to Braincom after the main build.
Another nice cup of tea later, it’s time to move on to Mainbody. Step 3.
I’m very pleased to say, Steps 3 through 11 weren’t as bad, a little fiddly here and there, but I made up some time. Anything with a blue label on the instructions warns of careful cutting so I was getting used to where, and where not, to trim. I also got used to using a little bit of force when joining two parts together, like Step 5. Nothing quite beats a satisfying click!! By the time I got to step 12, I was in model building heaven. I did have one eye watching Andy Thomas of Excelsior’s Domain, building his Dai-X on his YouTube channel, but he didn’t have to struggle with a pair of nail scissors, ha ha!! He’s got proper stuff!!
Build time to this point, just over two hours.


Next came the arm assembly. Stages 13 through 22. Again, I enjoyed this part of the build, all straight forward, everything going swimmingly and clicking into place, then I came to Stage 15. Two of the smallest plastic bolts, EVER!!! Yes, you know it, don’t you!? More scrambling around the floor, which is grey, trying to find two really small bolts, which are grey, and Billy watching me like I’ve gone mad. Plus, X-Blogger, I forgot to tell you that I was at the time, suffering from chronic back pain and under the treatment of my local chiropractor. He would have gone mad too!! Ah well, never mind. On with the show!!
Build time is now 3 1/2 hours.
We have Braincom (ish, you can see below it hasn’t shut properly), Mainbody and its arms. With bolts!!


Now, it’s time for Legtrack (or Legstar, but it’s Legtrack for me)!
Let’s go!! This is turning into a doddle!! (Yeah…right!).
So, we get to Stages 23 and 24.
Everything was going so well, and then… it all went wrong!!
I understood the correct orientation of part E3, but could I get all four parts to join together? Nope!! Not on your Nelly!!
I couldn’t tell K7 from K8, K13 wouldn’t go where it should, so I was cussing (fruitcakes and fiddlesticks) again, and getting rather cross. After about 20 minutes, I checked on my K board to find I’d cut the wrong number out. D’uh!! So, I tried again. Still, it wouldn’t fit, E3 kept flopping, K13 kept dropping off, so I thought “That’s it!! I’m aching and going blind!” So, I packed away. Bill looked at me with disgust (“Star Fleet doesn’t turn out quitters, Mommy!”) and he went to bed.
Build time 4hrs 10 mins. But. We will fight another day!!


Sunday, 8th March, and we are back at it– myself and my partner in crime, Bill. Come on pal, let’s get this finished!!
So, with a deep breath, we make a start. And what a start it was. For the life of me, I can’t explain why I picked up these pieces, pieces that drove me to despair last week, and they went together like a dream!! Riddle me that, eh? Stage 23 done. Then came Stage 24 and then… same issue. Could I get H5 into D7? What. A. Nightmare. I had to do some major trimming on these pieces to get them to fit, but eventually, with a bit of patience (ha!) I did it. As I have mentioned previously, I did have a bit of confidence to push with a little force to get the pieces to click together. Then…success!! Assembling Stages 25 through 28 went well, but here I will have a little moan.
I trimmed the excess off, pushed in the correct parts together, but I feel this part of the build looks a bit shabby. I didn’t get the satisfying click, and the part feels a bit flimsy.


Stages 29 through 31 went well enough, again needed a lot of trimming, but I am getting quite used to that now.
For me, here comes the most disappointing bit. H7, the foot, I thought would go on quite well. It took a lot of fiddling and because I put on the tiny guns first (15&16), they kept pinging off, so again a few scrambles around the floor!! It didn’t quite fit properly and the construction again felt flimsy.


Then Stage 32 was quite tricky and intricate. This stage took me the best part of 30 minutes to put together. It is part of a ball bearing to form a joint, so it had to be perfect. Lots of trimming needed on these. Bill is on quality control duty, so no cutting corners! Glad I had tweezers too!!


So, Stages 33 and 34 complete, basically assembling all the pieces together to form the left leg. Stage 33 was strange, as you push the foot on backwards, then spin round 180 degrees. You do need to trust the components, and they didn’t fail, thankfully. You can see bits sticking out at the top, these are the bits that need that little extra trim!!


Once assembled, we work on Stages 35 through 46, which makes up the right leg. Now, we are really cooking on gas. Now its starts to get exciting…it’s time for…YES!!!
DAI-X JUNCTION!!!


So, this is it. 2 hrs 30 mins today. Time to see if all my hard work pays off. I have to admit; this was the time when I felt the most nervous. I have wanted one of these since I had my X-Bomber model last year, and I so want this to be right.
I fixed my arms on to Mainbody, and they went on like a glove. A good strong push and they clicked in beautifully. Phew!! It looks wonderful!! But! BUT!! I didn’t look at Stage 47 properly. I should have put Braincom on first!! But because I wasn’t happy with Braincom, I attached the arms on first. Then, I thought, shall I put on the legs, or fix Braincom? Yeah, I fixed Braincom. Then… I sort of broke it again. Gosh sakes!! Yes, I snapped off the opposite part of X-Tracer!! Gutted…but at least it will close now…and Dr Benn has said he has Super Glue. Yay!! In Dr Benn we trust!!


Oh, this is Stanley. Bill’s brother from another mother, trying to steel Bill’s thunder.
Anyway, thank you for sticking with me…here he is… finally…the star of the show…Big Red himself!!
DAI-X!!


So, overall. After a 6 to 7 hour build over two days, and never building anything like this before, I am pretty chuffed. However… I don’t think the build is 100% right. He doesn’t stand up very well and I have to position it carefully to keep it upright. There is a stand for it, so I will be using that.
But the moving parts move very well, and I am getting some nice poses for it. I just need to fix X-Tracer, then job done. I won’t be handling it a lot, as I will be worried if parts do fall off.
The quality of the product itself is very good. The packaging was high quality, the instructions understandable and the plastic is very sturdy. Overall, I absolutely love it, I really do.
I will be keeping my eye out for another one, so I can have the separate three ships on their own stands. There is a separate instruction leaflet which shows you how.
In the meantime, thank you for joining us on our Dai-X journey, from myself Suzy Jones and my pals, Billy and Stanley.

If you enjoy Suzy’s writing, please check out her Star Fleet fan fiction here!
https://xbomber.co.uk/?dir=Star%20Fleet/Fan%20Stories#Suzanne%20Jones
If you want more model building adventures, please check out Excelsior’s Domain’s video as mentioned by Suzy and Jack Knoll’s construction of a Thunderbirds 2086 kit!
 | A guest post by
|